How to Upload Emulations to Snes Mini
Yesterday we reported to you that the world at present has the newest hakchi with its ii.twenty revision by developer Cluster_M. If you want to read all about the newest additions to the program and all of its features, click here. We and then gave you a tutorial on how to simply add more SNES/Super Famicom Roms to your SNES/Super Famicom Classic, if you want those instructions yous can observe them hither. This article will exist similar in way, however, it will be instructions on how to take your vanilla SNES Archetype and install RetroArch on it so that you tin play your favorite games from some other systems!
PART ONE: Hooking up SNES/Super Famicom Classic
Step 1:
Download hakchi 2.20 from here.
Step 2:
Install hakchi 2.20 on your PC.
Stride 3:
Open hakchi, it should inquire you which organization you want to alter. Choose SNES Archetype or Super Famicom Classic and then navigate to "Add More Games" in the lower left-hand corner.
*Note* If it does not ask you which system you lot want to alter, just choose "Settings" at the pinnacle, then click "Console Type" and it will then requite y'all the four options.
Stride 4:
Now, in the lower right-paw corner, click "Synchronize selected games with NES/SNES Classic".
Pace 5:
Ignore the onscreen steps as they seem to be a fiddling vague. Instead, plug SNES Archetype into the PC with the USB cord.
Step 6:
Hold the reset switch up and switch the device on. After switching information technology on, count to 5.
Step 7:
Click "Install Driver" on the screen. Information technology will open a command window with some info.
Pace 8:
Wait for another window to pop upwardly asking you lot to trust the device software. Just click "Install".
Stride 9:
That window will so disappear, click back over to the control window. It should say to press Enter to leave. Practise and then now.
Step 10:
That window will likewise disappear and show you the 3 step instructions screen once more that said "Install Driver". Yous tin now close this window and say yep if it questions y'all if y'all're certain or not.
Step xi:
Go up to the Kernel section at the pinnacle of the program. In the driblet-down carte du jour choose "Flash Custom Kernel".
Step 12:
Turn your device on again the aforementioned way that yous did before by holding reset and flipping on the power and continuing to concord reset for 5 seconds. You'll know it worked because the programme will take over.
Footstep thirteen:
After information technology finishes flashing the kernel you will accept a window confirming you tin at present flash ROMS, power information technology off once once more. You lot can now turn it on with just the power push button.
Step xiv:
Cull "Synchronize selected games with NES/SNES Classic" again. It will now send over ROMs with the default folder settings.
*Note* If you lot want to change the folder settings, its all a matter of preference. You lot tin always go to "Settings" and so "Pages/folder structure" and play around with different combinations.
Role TWO: Setting Upward RetroArch in Hakchi 2.twenty
Step 1:
Download RetroArch with boosted cores from here. Extract the contents. Drag and drop the RetroArch.hmod onto hakchi 2.xx.
Step two:
A window will pop up. Simply press "OK" on the screen that pops upwards. This guide volition non teach yous about the extended features available, if you want to mess with the other features experience free to do so.
Step three:
Once that is imported y'all can add boosted cores to hakchi. To practice this, go into the cores binder that you simply extracted. Re-create all of the .hmod files from there and paste them into the user_mods folder within of hakchi's program folder. It may ask if you want to overwrite them, but confirm it.
Footstep 4:
Now go back to hakchi and choose the "Modules" pick at the superlative of the program. So choose "Install actress modules", this selection will populate all of the cores that y'all added. Make certain that you lotalsocull RetroArch module.
*Annotation* Every bit y'all're exploring the cores, pay attending to the text on the right. Some will mention that they need their bios added. We cannot supply that to you, google is your friend. Just know that they belong in the ROMs folder for that specific emulator cadre.
Step 5:
Power on your SNES Classic as information technology asks you to do.
Step 6:
Choose "Synchronize selected games with NES/SNES Classic" over again. It will now send over RetroArch and all of its cores to the SNES Classic with the default folder settings.
*Notation* If you lot desire to change the binder settings, its all a matter of preference. Y'all can always go to "Settings" then "Pages/folder structure" and play around with different combinations.
Step 7:
Subsequently that'southward done, power off your SNES Classic just go out it plugged in. We need to add folders and ROMs and such.
Stride 8:
Click the "Add together More Games" binder in the lower correct-paw corner.
Step 9:
Import all ROMs of a unmarried type over. For example .gba files. Once you select information technology, you'll be back at the hakchi screen and it will tell you that they've been added to an "Unsorted Folder".
*Annotation* You too demand to import your bios file if the cadre requires it.
Footstep 10:
Go upward to "Settings" so choose "Pages/folders structure" and then go down and select "Custom – Show Folders Manager every time".
Step 11:
We need to now be better safe than deplorable and push that folder structure to the SNES Mini. Choose "Synchronize selected games with NES/SNES Archetype" again, if it asks yous to install a driver and/or kernel again information technology'southward considering nosotros demand a separate kernel. Practice the reset and power combination once again as nosotros did in part one. Whether or not it asks, ultimately in the terminate, information technology will sync the folder construction.
Pace 12:
After that, y'all should now see the entire Folders Managing director screen. Somewhere in the list on the left side, you should run across the Unsorted binder. Right click it and choose Rename.
Step 13:
Now you tin hands name that folder the emulator proper noun GBA (to continue the example used before). Afterwards you're washed making and naming the folder, simply close the window. Confirming that you want to relieve the folder construction. You tin echo the steps of adding roms for equally many emulator cores as you've called.
Footstep 14:
Now you'll be dorsum on the primary window of hakchi. In one case you take every ROM you lot want in the list, correct-click on the listing and download the box fine art for all games.
Footstep 15:
One time that'south complete, select "Synchronize selected games with NES/SNES Classic" one terminal time. Information technology should inquire you to await at your folder structure again. But click "OK" and let information technology keep. Additionally, if it wants you to install another kernel/driver, merely humor information technology and do the reset and power combo again. After information technology's done that, ability off the device so use but the power button to sync the device up. Eventually you will get to the screen where it sends the ROMs and bios files to the device.
*Annotation* It may tell y'all that you lot're trying to transfer too many files at in one case, but press "OK" and power it on again and let it keep syncing.
Footstep xvi:
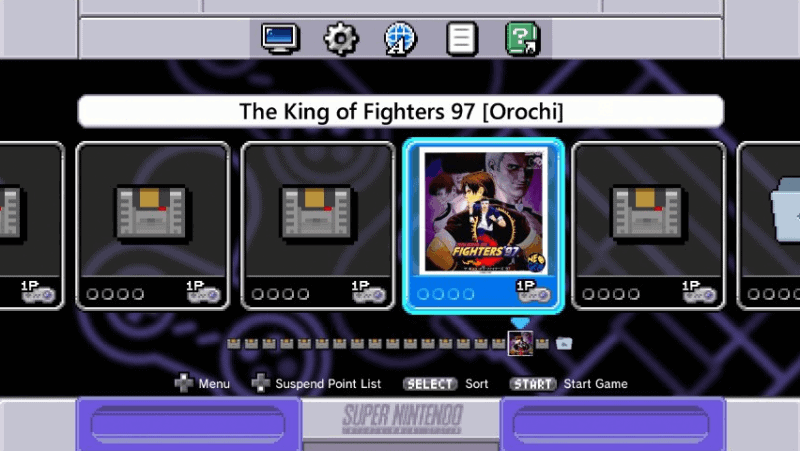
Once it finishes, ability off the SNES/Super Famicom Classic and plug information technology into your Television set as you usually would. Upon powering it on y'all should have successfully added RetroArch! You will take all of the individual folders titled GBA (and then on for any others you lot've added) as well equally a RetroArch icon if you are used to going into RetroArch individually and messing with it that fashion.
PART 3: Errors and Tips
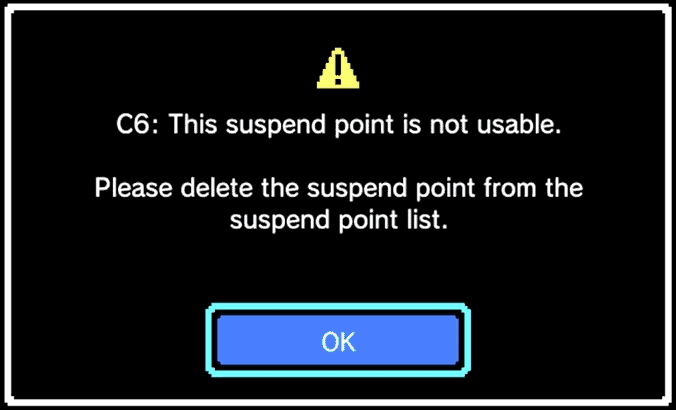
C6 Error:
I believe this has long since been resolved and is due to RetroArch, just if information technology pops up, do the following. Get up to "Kernel" choose "Uninstall" and this volition wipe everything special almost the SNES Classic. It clears the custom kernel, all new ROMS, and all save states and puts it back to the way that it was when you purchased the device. At present just start over again from "Role Two" in this article.
C7 Mistake:
This is again, ordinarily acquired by RetroArch, only information technology could be from a specific game (unlikely). If you start said game or RetroArch on your device and you get a C7 error practice the following. Claw your device upwards to your computer as usual, remove the troublesome particular. Redownload it, potentially from a different souce, and reinstall it. It could be that it was a corrupted file.
C8 Error:
This error is probably unlikely when merely using the SNES Classic for RetroArch, merely we'll talk about it anyway. C8 usually occurs when you accept chose to have too many games (or apps in this case) per page/folder. Under "Settings" go to "Pages/folder construction" y'all'll find the "Maximum Games per page/binder" selection. If you want to maximize the corporeality you can exercise, just choose the next best selection, sync the device and see if the error is gone. If not, get dorsum and accept information technology down to the next best option later that until you find that the C8 error is gone.
The aforementioned error resolutions are non an exact science, several different people accept found different reasons and resolutions. If yous have a specific consequence and these do non help, Google may very well take your answer.
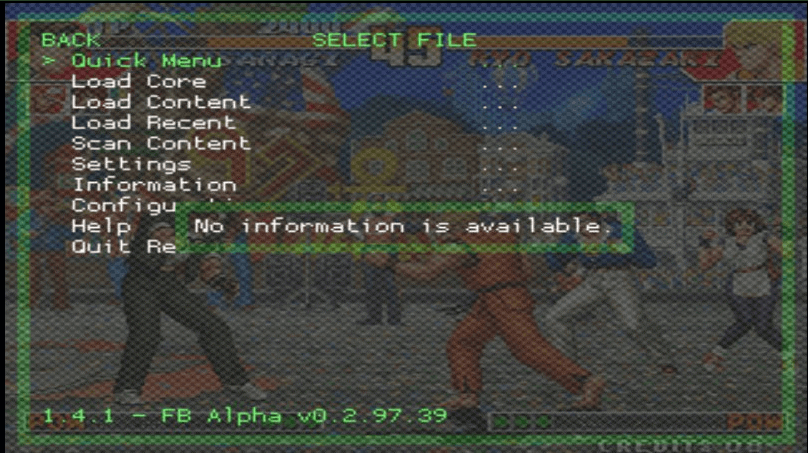
All RetroArch pictures are credited to @Jooie86 on Twitter
Stay tuned here on Hackinformer.com and follow us on Twitter @Hackinformer
If you like the author, you can also follow him on Twitter @V1RACY
Source: https://hackinformer.com/2017/10/08/installing-retroarch-snes-classic-hakchi-2-20/
0 Response to "How to Upload Emulations to Snes Mini"
Post a Comment